How to Avoid DIY Decorative Concrete Errors
- June 7, 2023
- Written By Brad Russell
- Guides
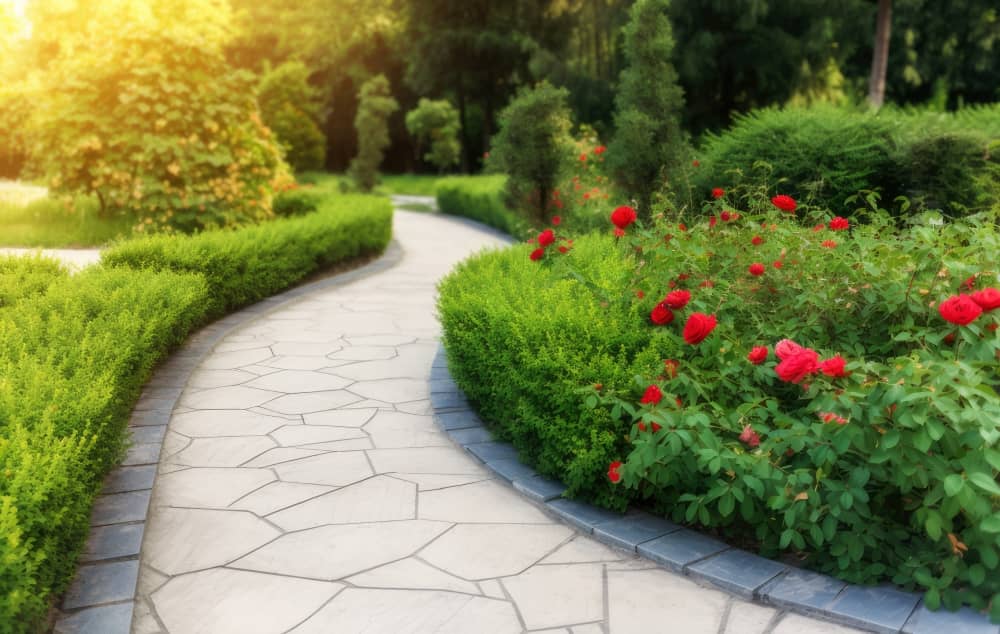
Many Australian homeowners love decorative concrete mainly because it is aesthetically pleasing. Thanks to a wide array of options, you can customise it according to your preference. Decorative concrete can look like tile, stone, or wood, giving you the freedom to express your creativity. Apart from the visual appeal, concrete, on its own, is durable with a guaranteed long lifespan. When properly installed and maintained, you can have a beautiful and enduring decorative concrete surface.
Like any construction or renovation project, you can DIY decorative concrete applications. However, if you are inexperienced and lack the necessary skills for concrete work, we advise you to leave the job to the experts. Unless you are willing to dedicate a lot of time to learn the tasks involved, DIY decorative concrete can result in numerous issues, such as:
- Uneven application of stains, patterns, or dyes
- Incorrect colour distribution
- No access to the right tools and equipment
- Limited options for designing decorative concrete
- Poor techniques to achieve durability and longevity
But let us say that you truly want to do the job yourself. Perhaps you like its few advantages, including saving money, improving your skills, and allowing for a high degree of personalisation. Don’t worry; we have tips to help you avoid decorative concrete errors.
Start by Preparing the Surface Properly
Proper surface preparation is more than crucial; it takes precedence and, therefore, cannot be overlooked, no matter how simple or complex your decorative concrete project may be. Preparation includes addressing existing surface defects, such as cracks and spalling. These issues should be repaired first; otherwise, they can cause further damage and lead to more problems with the finished decorative concrete.
Of course, you need to clean the surface to remove all dirt and debris. Depending on the location and substrate, you may need to use a pressure washer. The result should be a clean surface with no residue of any contaminants.
If the surface has existing paint, coating, or sealant, be sure that you remove it first before you start working on the decorative concrete application. The easiest method for this step is chemical stripping, whilst shot blasting and grinding are more advanced techniques.
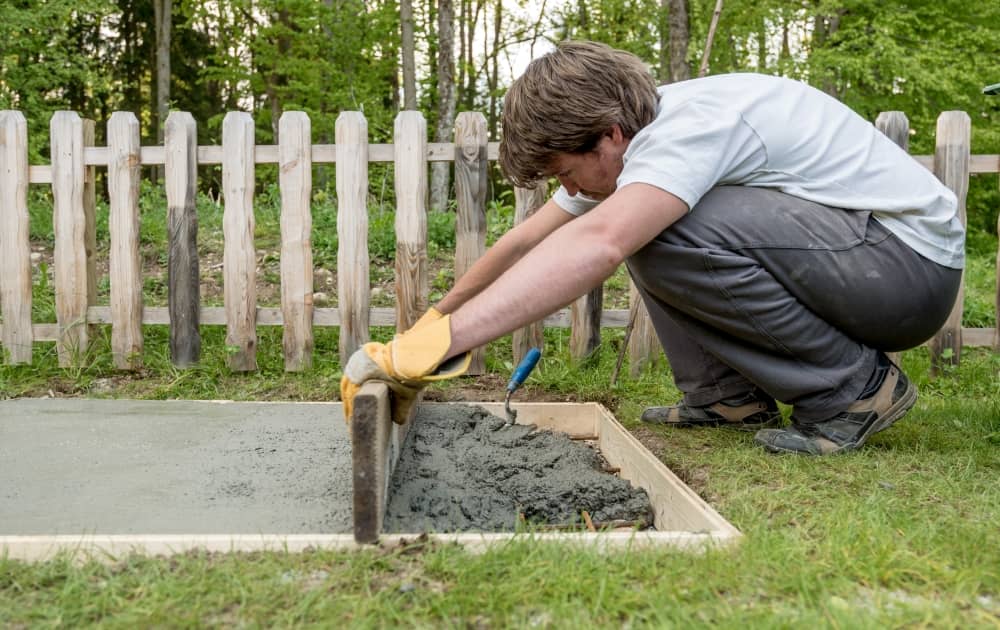
Use Correct Mixing and Application Techniques
For the best results, you should read the manufacturer’s instructions to determine the accurate mixing ratios and curing time. Specific tools, such as a mixing paddle, trowel, and brush, may also be required. Be sure to do your research before you take the next step.
Measuring water, colourants, additives, and other components is essential. Each should meet its specified ratios, or you will not achieve the desired colour and look. To avoid making any mistakes, you should use measuring tools to maintain mixture consistency. When it comes to mixing, be aware that this process usually takes a while. You can make your job easier when you use a mixer, although you can always mix by hand. The key is to ensure all components are blended well and thoroughly to avoid lumps and inconsistencies.
When it is time to apply decorative concrete, it helps to work in layers, keeping everything as even as possible. That way, you achieve a uniform appearance throughout the space. Too thick or too thin can affect the final appearance, so take as much time as needed to apply the material. You may need special tools for this process, such as brushes, sprayers, and trowels, which will allow you to get the desired effect.
Allow Enough Time for the Concrete to Dry and Cure
Once again, you need to consult the manufacturer’s instructions to determine the appropriate drying and curing times. Typically, however, the process includes an initial drying time, which pertains to the time you leave the concrete to set after pouring it. During this phase, the material goes through a hydration process in which water works with cement for these components to solidify. The initial drying time can take anywhere from 24 to 48 hours, although some products may require shorter or longer durations.
Don’t forget that you will need to keep concrete moist throughout the whole initial drying period. You may need to cover the surface with recommended sheets (usually plastic). Some products may require a particular curing product to retain moisture. Never skip this process so the concrete does not crack and stays durable.
The concrete surface begins to cure once the initial drying process is complete. If you do not already know, curing refers to the process of retaining suitable conditions for concrete. This includes moisture and temperature, allowing the material to hydrate and remain strong. Curing takes longer than drying, usually lasting several days or even weeks.
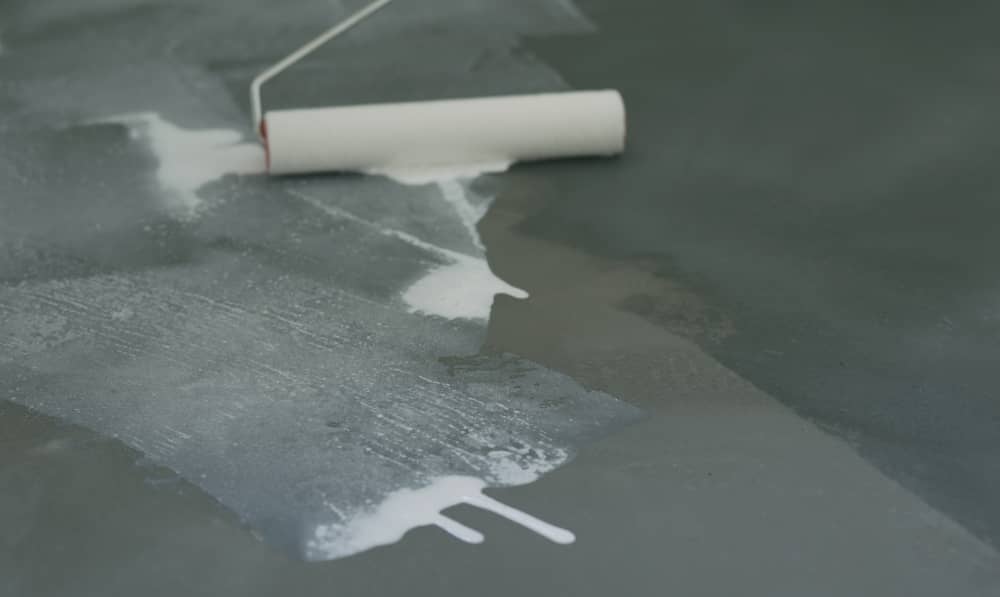
Seal the Finished Concrete
Are you ready for the final step? Not so fast! You still need to make sure that the surface is clean and free from debris. Sweep it or use a pressure washer. Let it dry before you seal the finished concrete. You will need a roller or brush to apply the sealer. Once again, apply the product as evenly as possible. Make sure that you have already read the instructions so you know the exact thickness and application rate of the sealer you’re using. For a more detailed guide, head to this blog.
Sealing the concrete is the secret to a durable and long-lasting surface. It helps prevent moisture from seeping in, which can damage the underlying concrete. Sealing can also protect the surface so it does not retain stains and react to chemicals and UV light.
More Tips for a Successful Decorative Concrete Project
Working with decorative concrete is much easier when you know how to avoid application errors. Here are some more tips to help you out:
- Pick the correct tools. You may need a concrete mixer, especially if you are inexperienced with decorative concrete. Trowels are also helpful, making spreading and smoothing the surface so much easier. Note that there are different trowels that you may need for your project, such as margin, edging, and finishing trowels. Another tool that is often overlooked is a float, which levels freshly poured concrete. To apply coatings or sealers, you should have a roller or sprayer. If you’re interested in polished concrete, you need a grinder or polisher to have that glossy result.
- Use safety equipment. Aside from the tools mentioned, you should have safety equipment ready, including protective eyewear, gloves, and masks. Wear appropriate clothing, such as long pants, long-sleeved shirts, and work boots. You may also need earmuffs or earplugs if you will be working with a loud piece of equipment.
- Ventilate the area. Open windows and doors to let fresh air in. Doing so also helps remove odours and fumes that may come from the products you are using. Having a fan or any ventilation system in the work area can be beneficial, ensuring it is suitably positioned to blow air out. If you’re working in an open or outdoor location, you do not have to worry about ventilation.
Reading the manufacturer’s instructions, safety data sheets, and other recommendations can save you from redoing hours and hours of work. Ensure that you do not just read but follow the guidelines provided to avoid any issues.
Whilst achieving the desired results with DIY decorative concrete is possible, you can make your life so much easier when you seek professional advice and service. Sometimes, things should be left to the experts, and often, that includes your decorative concrete project. For the best, most satisfying result, contact us to see how we can be of assistance.